
Often known as the fossil tree, Wollemia nobilis was once thought to be long extinct, it was only known through fossil records until the discovery of a handful of live specimens in 1994. The trees were found growing in sandstone gauges within temperate rainforest in the Wollemi National Park in New South Wales, Australia. With the help of micropropagation, the following decades saw many thousands of trees grown and distributed throughout the world. The common name, Wollemi pine was trademarked to help manage distribution and to protect the original wild specimens.
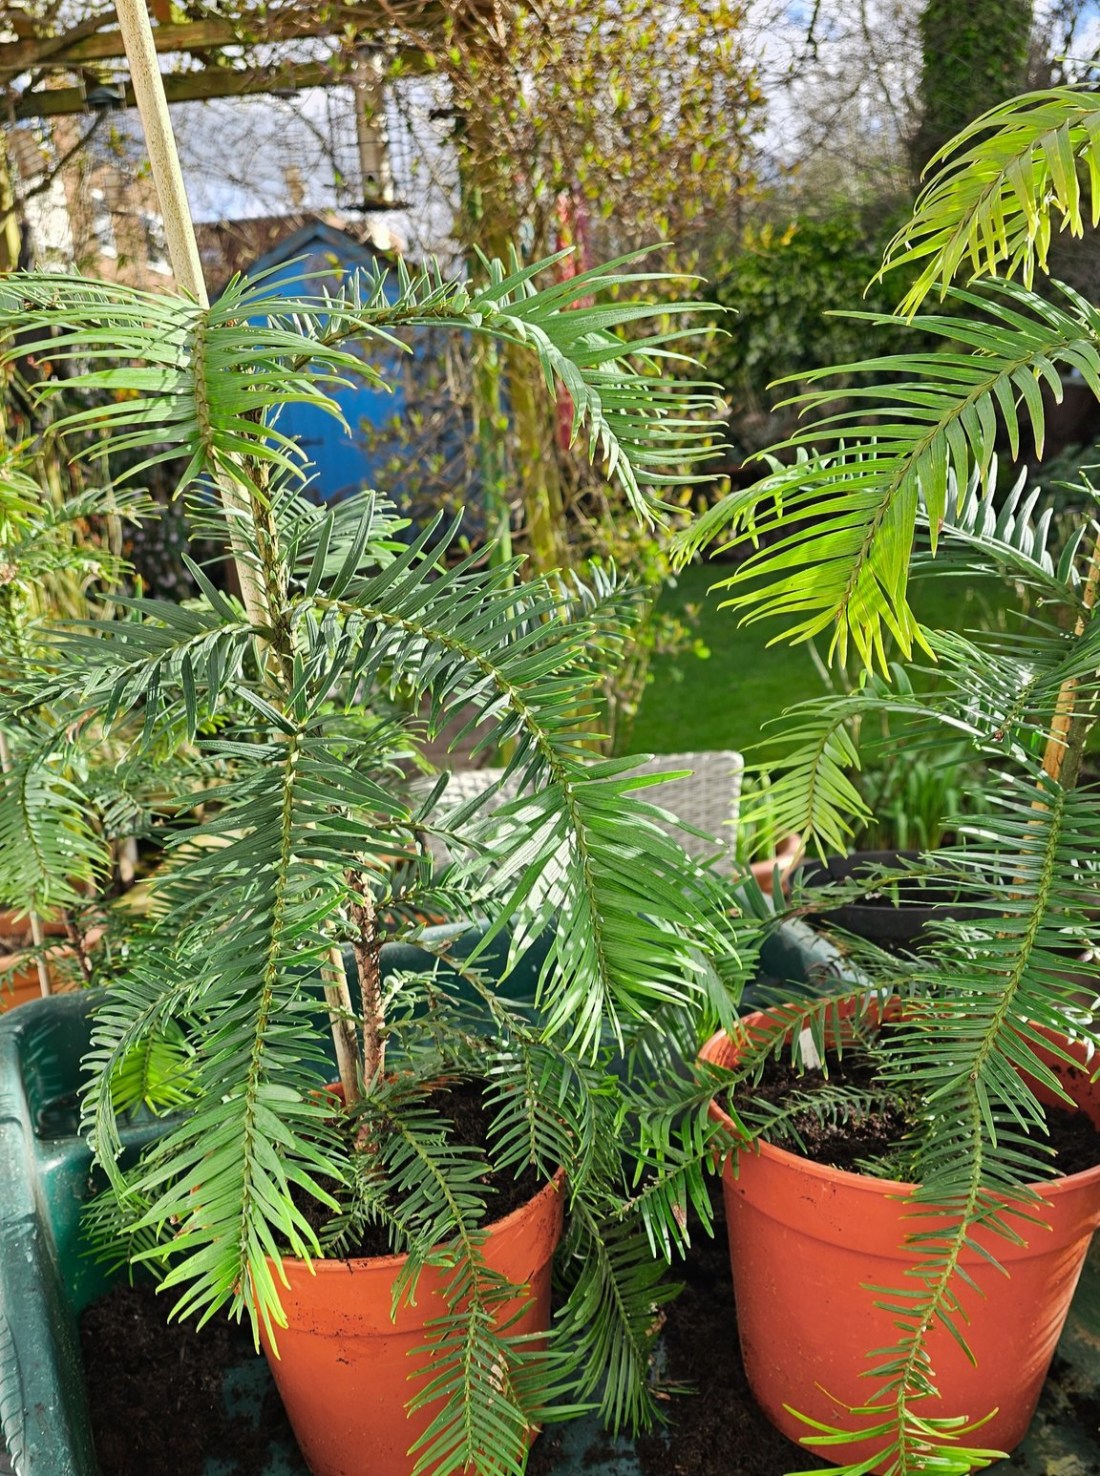
Jump forward 30 years and there’s hardly a botanical garden or arboretum without at least one specimen of this ancient conifer. Still though, they are an expensive tree to buy, especially as a mature specimen. So here is a way to grow your own for little cost, but a degree of patience is needed.
As most of us don’t have the luxury of a micropropagation lab at home, we need to look for simpler methods. It is possible to take cuttings from Wollemia but I am going to concentrate here on growing them from seed.
SOURCING SEED

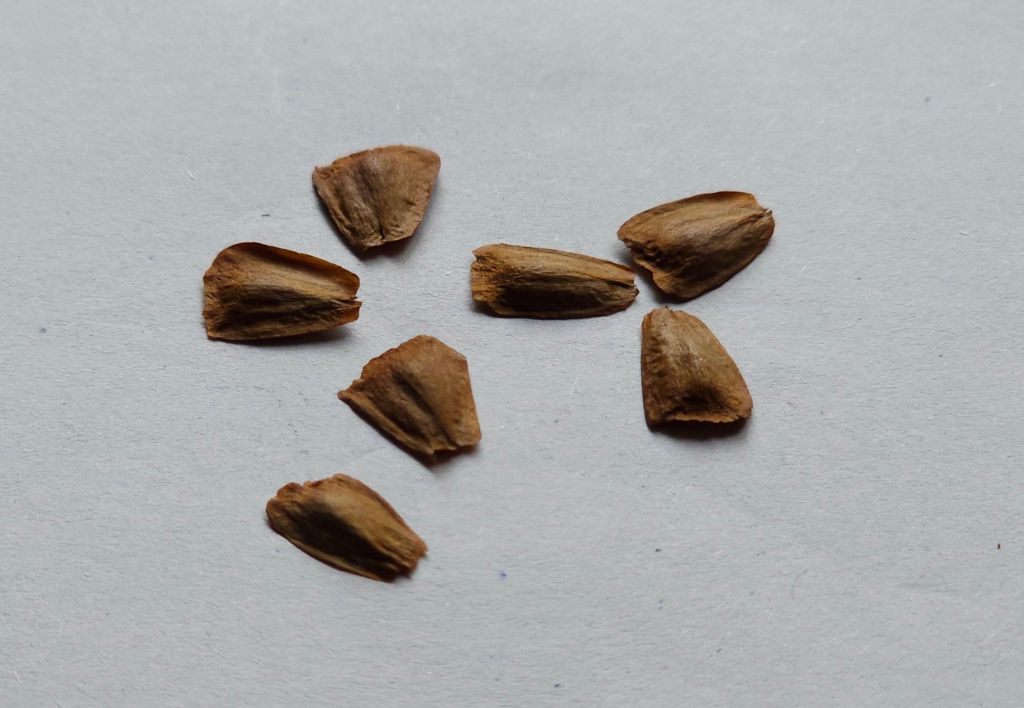
First of all, you are going to need to source some seed and this can be tricky. Wollemi are monoecious, which means the produce both male and female reproductive organs. Male cones which carry pollen are long and narrow, female cones are round and once fertilised will produce seed. It takes around 6 months for a small female cone to be pollinated, a further 18 months for it to grow and for the seeds to ripen. Often a mixture of larger, fertilised cones will be visible on the same tree as new, unfertilised cones. The picture above shows a female cone. In the foreground are the seeds, behind the seeds are the cone and the woody scales. I have seen these scales fraudulently sold on ebay, paraded as seeds. I have also seen seed listed in packets of around 50. Bear in mind a ripe cone will only contain around 10 viable seeds so any which are sold in large quantities might not be worth buying. It is important to only buy pre-tested seed from a reliable seller.
If you are lucky enough to be able to harvest your own seed then keep an eye on the female cones from around August to September. The green cones will start to tinge orange or brown and when handled, the scales will feel like they are loosening. They are now ready to harvest but you will need to be quick. As soon as those scales loosen, they are likely to fall quickly. The cone will not drop all in one like an apple, the scales will fall away and the seeds will disperse, so it’s important to collect the cones directly from the tree as you won’t be able to collect them from the ground.
SOAKING AND TESTING SEED
Wollemia nobilis is not a true pine. It is a coniferous relative of the monkey puzzle (Araucaria araucana) in the Araucariaceae family. Thankfully, unlike true pines, the seed will germinate without stratification, (the process of artificially breaking dormancy by means of moisture or temperature manipulation). The cones contain so many seeds that sowing them all would mean countless seed trays. Therefore, it is better to test viability first. This is very easy. Take a large bowl, preferably clear for visibility, fill it with water and scatter the surface with seeds. Leave the seeds to soak for 24 hours, occasionally pushing them below the surface. The viable seeds will drop to the bottom and non viable will remain on the surface. Carefully skim off the non viable then pick out the viable from the bottom. The viable seed are plump and when pressed feel hard and will not depress. Notice the difference to the non viable, floaters, which are empty and will press flat.
SOWING WOLLEMIA NOBILIS
I have tried sowing fresh seed in September and sowing in spring. The seeds which I sowed in September were sown on a free draining compost with added sand and covered with a couple of millimeters of the same mix. The tray was kept moist at a temperature of around 25 Celsius. Germination did not take place until April, next spring. 8 out of 10 seeds germinated together within a couple of weeks and I pricked these seedlings out once a set of true leaves had appeared. I kept the the tray and found the other two seeds germinated a few weeks after the others had been pricked out. As you can see from the picture below, lots of moss had grown on the surface but this did not bother the seedlings at all.
The seeds which I sowed under the same conditions but in February, germinated around the same time in April. I am guessing light levels are an important factor and the light here in the UK is optimal during April.
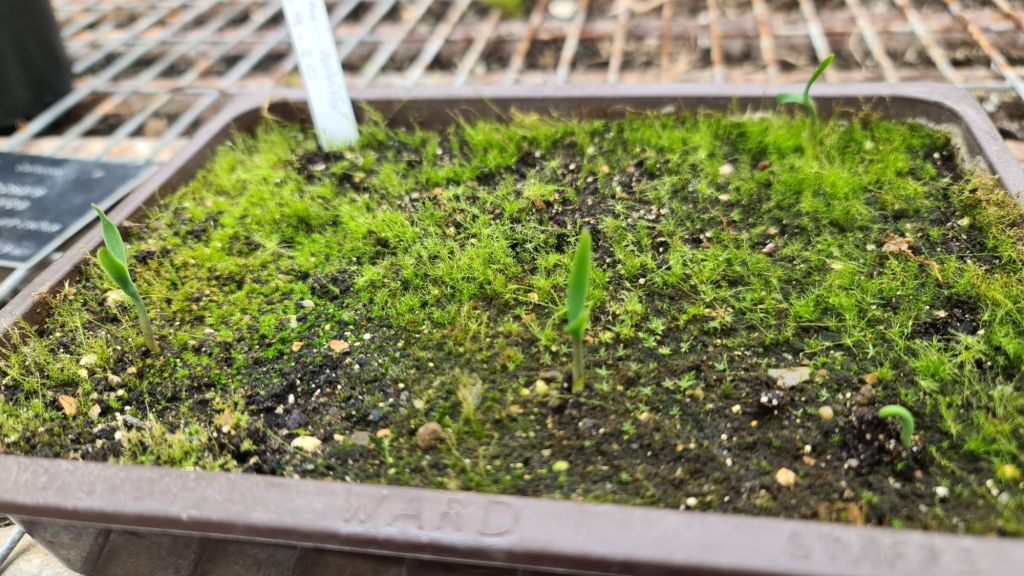
The leaves which are emerging in the picture above are known as cotyledons or seed leaves. It’s best to wait until true, more recognisable leaves emerge before pricking out into small pots or cell trays.
PRICKING OUT AND POTTING ON
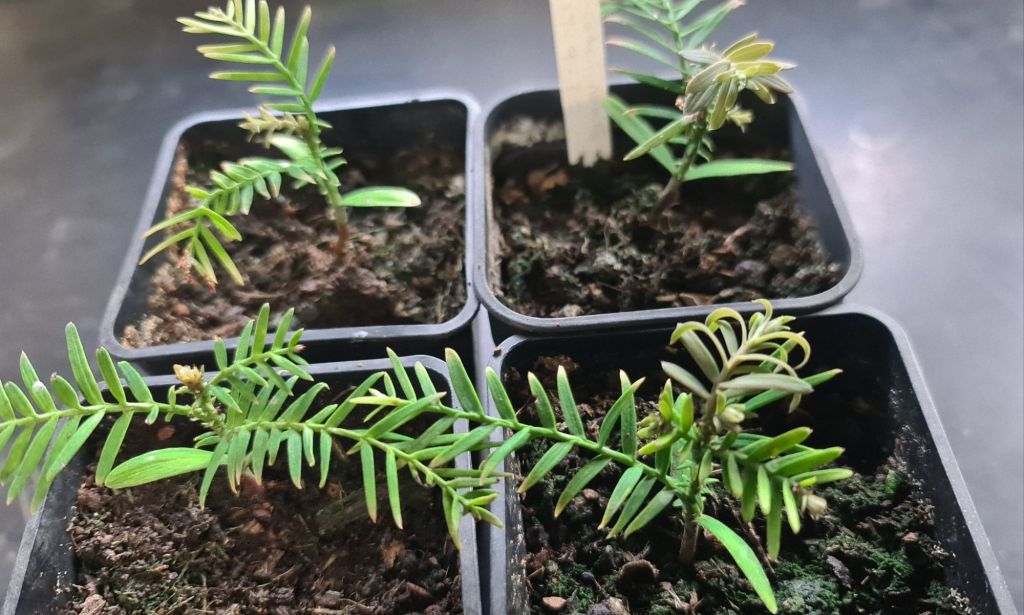
I use a peat free ericaceous compost for my plants, from the pricking out stage onwards. I mix in some sharp sand to assist drainage and sometimes perlite to lighten the growing medium. The plants in the picture above show true juvenile leaves with the cotyledons still visible below. These plants are one year old. Young plants do tend to grow quite slowly in their first year and I keep them in an unheated greenhouse during at least their first winter for a little protection. After that first year, growth seems to accelerate. Be sure to check the plants never become root bound and pot them on at least once each year.


